Article Content
I first discovered Ableton because of a musical idea I had that I wasn’t sure how to execute. I wanted to get together with friends to perform and record American composer Terry Riley’s famous 1964 score entitled In C. This particular score calls for any number and any type of instruments. My idea was to create an ensemble of musicians who each perform using an unusual musical instrument: the computer. This was 2009. I had studied In C in my university music program not long before this idea popped into my head. I knew that computers had become capable of real-time synthesis and sampling, but I wasn’t sure how to make a performance happen in terms of the unusual sequencing demands of the score, which doesn’t adhere to typical Western notions of time signatures. For the uninitiated, have a look at the score. Even if you don’t read music notation, you can get a good idea of how this music works by reading the performance instructions.
Initial experiments included an attempt at playing the score using the looping functions built into the DAW I used back then, Sony’s Acid (I’m dating myself here). This was wildly unsuccessful. I told myself that I needed to be able to play these musical patterns from the score live. “Wait a minute,” I thought to myself. “I’ve heard of a newer DAW called Ableton Live. Maybe that’s worth looking into?”
It was.
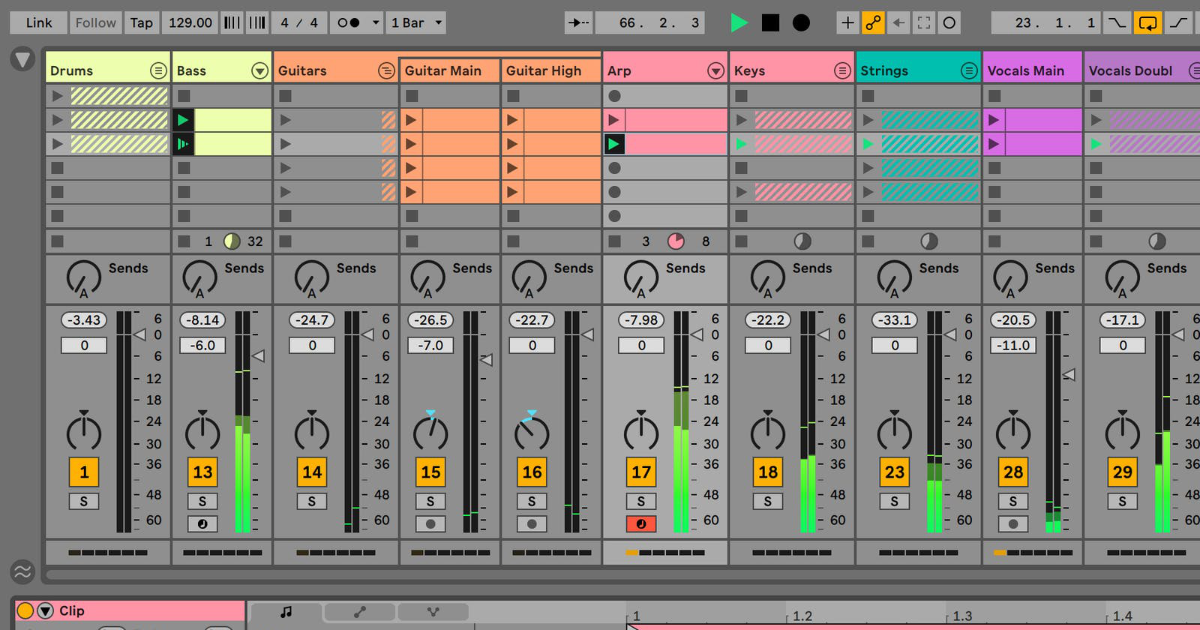
As soon as I began experimenting with Live’s Session View (see below), I knew that I had found the perfect tool for realizing my idea. Soon we established the Salt Lake Electric Ensemble, and before long our debut recording of In C was released — all made possible by Ableton Live.
In the 13 years that followed, Ableton became my main DAW — one that I’ve used to produce an extensive discography and a considerable number of concert performances. There’s a lot to admire in Ableton Live, so I’ve rounded up some of the features that I believe make it an indispensable DAW. Let’s dive right in.
1. Session View
Session View was the first killer DAW feature that Ableton innovated, and in my opinion it’s still the best feature — and the most revolutionary.
It’s tricky to describe what Session View can do, because it can do so many things. But I’m going to start with a big generalization: it opens up a plethora of new possibilities in deploying the computer as a musical instrument, both in performing and improvising contexts.
You could be forgiven if you were to confuse Session View with a spreadsheet — both manifest themselves as a collection of individual cells organized into a rectangular grid. These cells in the Session View act as containers for different musical ideas. They can take the form of MIDI or audio and are organized into vertical tracks (as opposed to the more usual horizontal tracks found in most other DAWs). You can think of the Session View as a flexible place for recording, storing and organizing all of your individual musical building blocks (cells). When these cells are empty, they can be recorded into on the fly. Once you have cells prepared they can be played back spontaneously. Crucially, the start of the playback can be quantized to musical time values as they relate to the master tempo and master time signature. Additionally, Session View makes it easy to switch between different MIDI instruments and audio processing chains on the fly — hugely valuable in a live performance situation.
It’s worth noting that elements of Session View functionality have made their way into other DAWs, including Bitwig (Clip Launcher), Logic Pro (Live Loops), Digital Performer (Clips Window) and there’s even a third party implementation for Reaper called Playtime. But Ableton was the clear originator of this technology that makes so many exciting performance and improvisation techniques available — and they’ve had a head start of more than a decade on its development.
2. Finally, A Mature DAW
The next entry in this list isn’t a feature at all. But it is a result of the steady development of new features across more than 20 years.
When I first got started with Live 7 in 2009, there were often situations where I longed to use another DAW due to features they included that Live didn’t. Session View was such a powerful creative environment that for a long time I just looked the other way at certain features that most other DAWs had that Ableton lacked. In fact, for nearly a decade, if I was ever engineering a recording session where I knew that there would be little to no MIDI involved, I’d abandon Live entirely and instead use my backup DAW, Reaper, because I found its workflow as an audio tracker and editor to be so much more nimble and intuitive.
Consider the following:
- Max for Live and Push (see below) were introduced in Live 8.
- Before Live 9, there was no automation in the session view — only the arrangement view supported automation. (Yikes!)
- In Live 10, users gained a host of editing improvements, including the ability to edit multiple MIDI clips together.
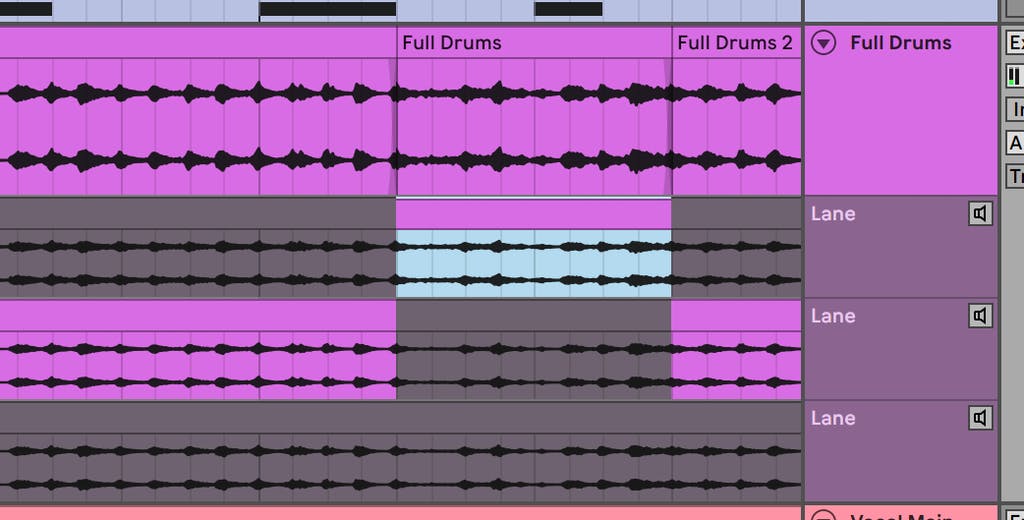
- Proper take lanes, which are commonly used for comping, was one of the top feature requests among Live users for a very long time. It was finally added in Live 11, along with MIDI MPE support, a lot of improvements to clips and a bunch of generative tools (see below) that function at the clip level.
- Throughout all of these version upgrades, Ableton continued to add impressive new entries to the collection of stock devices (see below), and continued to improve the existing devices.
So with Ableton Live 11, it decisively feels like we have a proper mature DAW, and I’m celebrating. Today, pretty much every gripe I had about missing tools and features has been addressed. I don’t find myself using Reaper much anymore as a result. I think the era of DAW envy is over for me.
3. Stock Instruments and Effects
Look, I love third party plugins. Love ’em! There are so many outstanding plugins. But honestly, if my extensive collection of third party instruments and effects were to disappear tomorrow and I had to forge ahead with my creative endeavors in music using only the included instruments and effects in Ableton Live’s Suite edition, would I get that bent out of shape?
Maybe a tiny bit. There would certainly be a few that I’d genuinely miss. But I’d get over it pretty quickly and without looking back because there’s a world of possibilities provided with the stock devices.
All the usual stuff is here — a great parametric EQ, several capable compressors & limiters, quite a few distortion/saturation options, lots of flexible reverbs & delays, competent guitar and bass amp simulations, chorus, flanger, phaser and autopanner — you get the idea. For the tools you’ll likely be using for the bulk of your day-to-day music production tasks, you’re covered with a collection of quality stock devices.
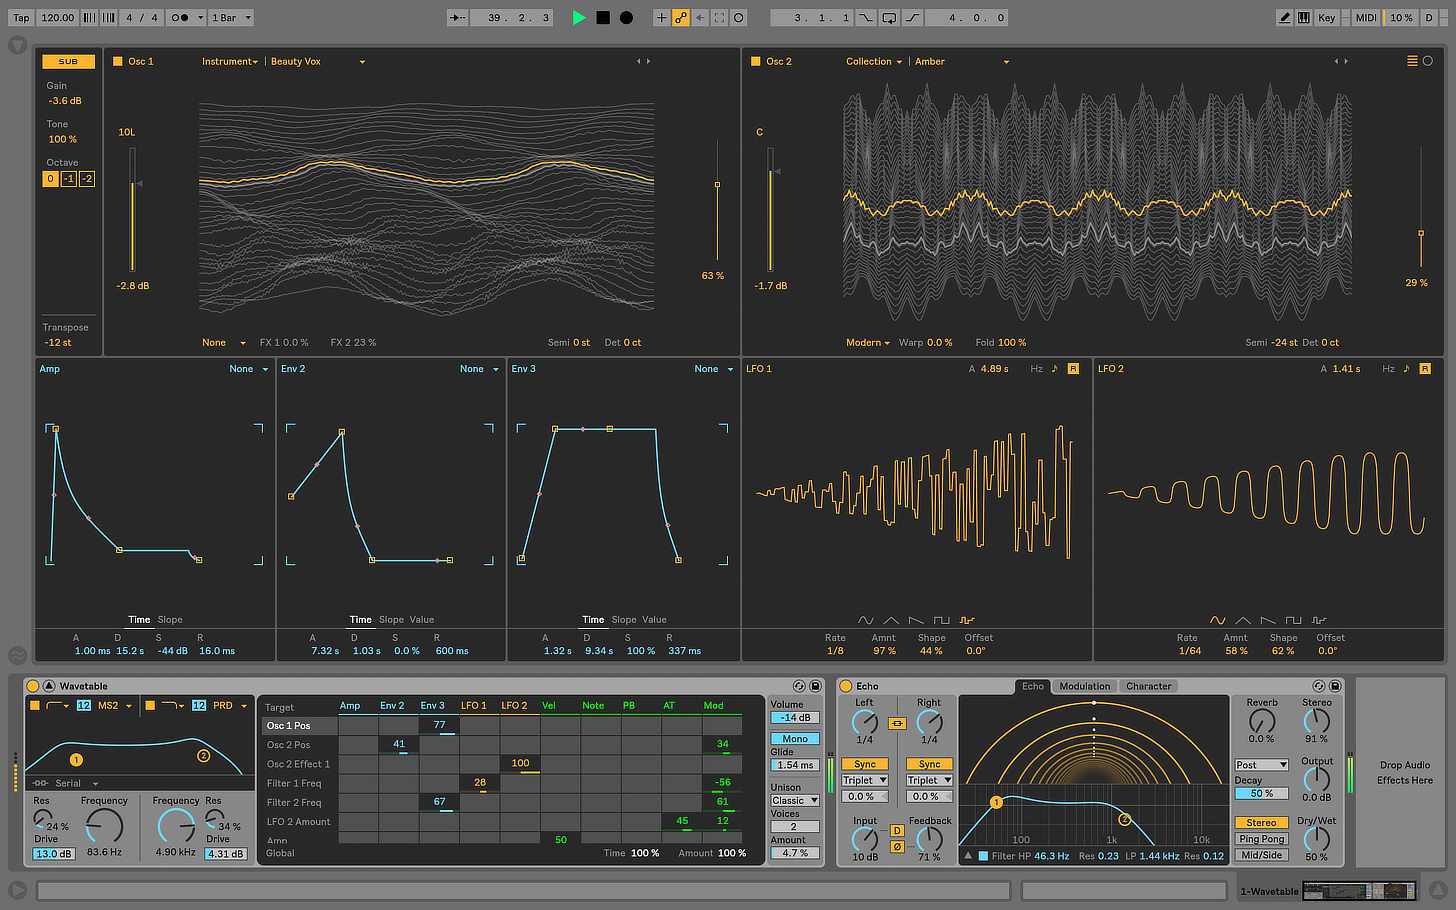
But then there are the less expected inclusions that really make these offerings shine. There are currently nine stock synthesizers offered (plus lots more available via Max for Live, see below), and plenty of synthesis types are covered here — with individual instruments often being capable of covering multiple synthesis types. Operator is an established classic, offering FM, virtual analog and additive techniques, while the newer Wavetable is fully capable of competing head to head with plenty of the big-name third party wavetable synth plugins. The collection of physical modeling synths offer flexibility and intrigue for sound designers and musicians alike, and the included sampling and drum instruments leave little to be desired.
Within the last decade or so, Ableton had added a collection of premium-sounding effects, including the SSL-inspired Glue Compressor, the innovative and hugely useful Drum Buss, a delay/reverb called Echo that could be confused with a Roland Space Echo, a Looper that live loopers would be right at home with, a variety of colorful and modulatable filters, an extensive collection of modulators, a great Vocoder and more.
There’s even a decent collection of sample libraries included that are capable of covering a broad range of sounds, including a variety of acoustic and electric pianos, a massive collection of acoustic and electric drum kits & auxiliary percussion, electric guitar & bass, orchestral strings, woodwinds, brass, mallet percussion and world instruments.
Last but certainly not least, Live boasts a collection of MIDI effects that provide powerful tools for the MIDI musician. I think they’re some of the most underrated and inspired devices in the entire suite.
It’s an abundant and impressive array of high quality devices and sounds. With this collection of production tools, chances are excellent that you’ll be fully equipped to make music in your chosen style right out of the box.
4. Push
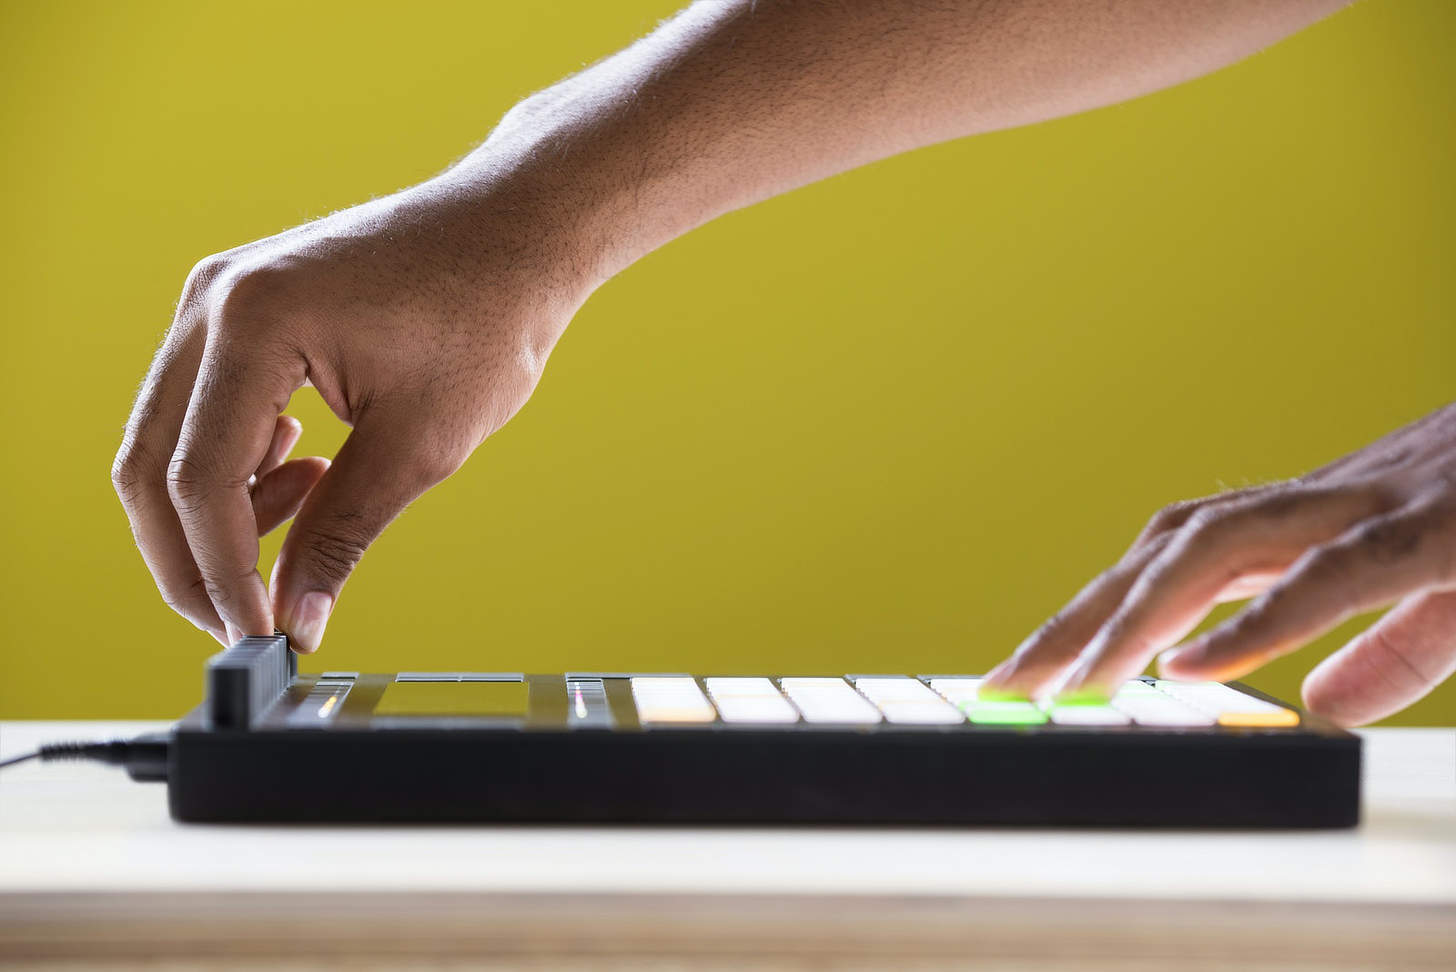
If the idea of sitting in front of a computer screen seems like an unfortunate thing to do while making music, you may want to look at Ableton’s hardware instrument called Push, now in its second iteration (Push 2). It’s not much of a stretch to describe Push as a physical manifestation of Ableton Live; there are only a handful of functions that require the user to return to their mouse, keyboard and computer screen, and those functions usually aren’t frequently needed. Entire compositions and performances are regularly created right from Push. Everything you need for Ableton’s performing, recording and mixing functions are available at the touch of a few buttons or less.
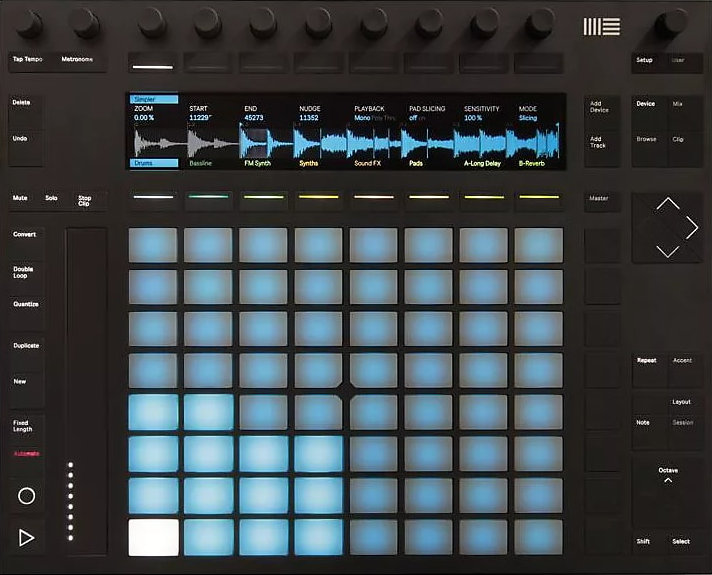
Before diving into Push, the key thing to understand is the isomorphic keyboard, which is presented physically as an 8×8 grid of buttons. It allows for velocity sensitive and MPE & aftertouch-enabled MIDI note entry (note that the 8×8 grid also has multiple other functions). This keyboard is dynamic — different scales can be loaded into the keyboard and the “wrong” notes can simply be removed if you like. But if you’ve already logged years of practice on a traditional piano keyboard (or MIDI guitar/wind controller), this alternative human-to-computer interface, though incredibly flexible & powerful, may not be all that attractive — just like traditional instruments there is a learning curve to consider.
But this is an exciting, innovative and legitimate musical instrument that deserves consideration from instrumentalists young and old. Push with Ableton Live is not a traditional instrument like the piano or violin (much of the instrumental technique is conceptual and technical rather than physical), but it still merits serious study — just as instruments that have a long & rich performance tradition supported by an extensive repertoire would.
5. Max for Live
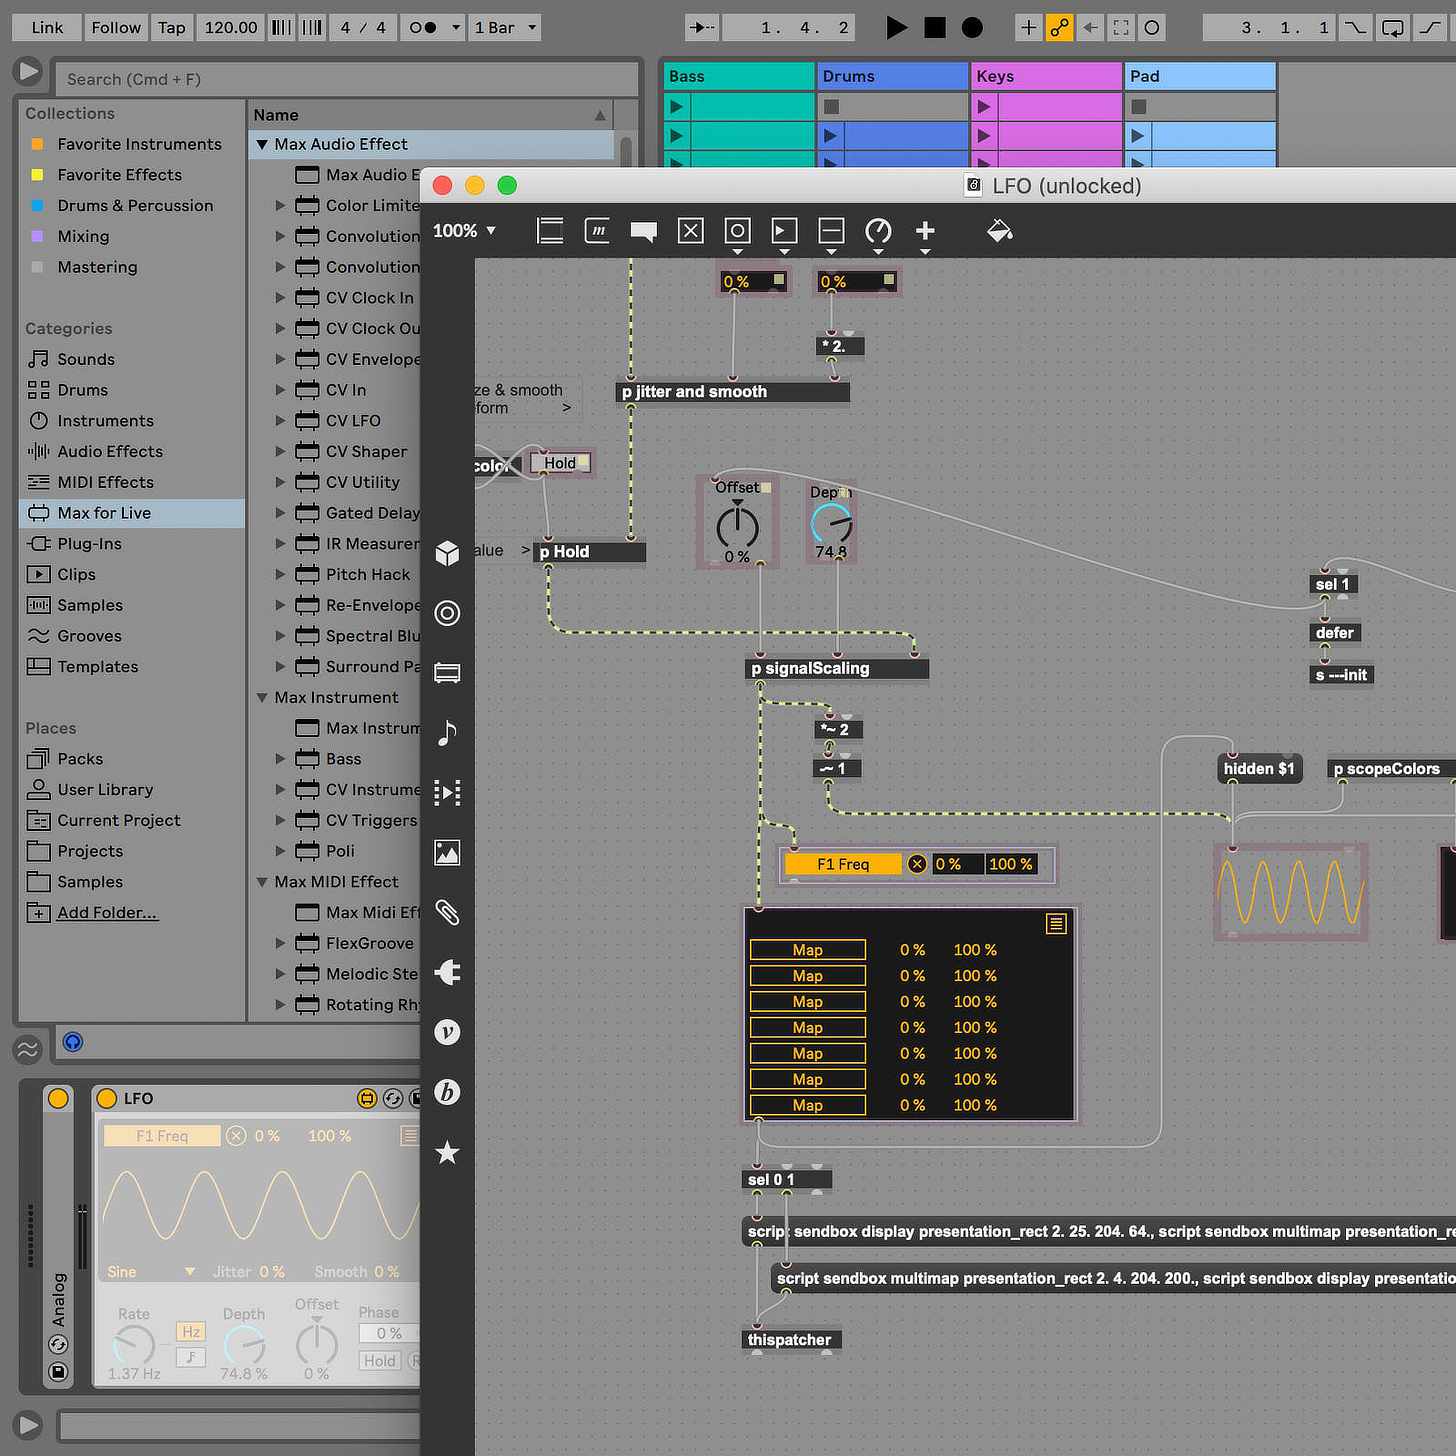
Max, along with MSP and Jitter, are long established visual programming environments created by Cycling ‘74 that provides a (relatively) easy way to get into the development of interactive MIDI, audio and video software. This has been a software development environment that has been beloved by music geeks for a long time, but back in 2010 Cycling ‘74 and Ableton collaborated on Max for Live and made both Max and Live immeasurably more powerful in the process. Then in 2017 Ableton and Cycling ‘74 merged. Now Max and Live are more tightly integrated than ever, and the future looks bright as a result.
What can you do with Max for Live? The possibilities are literally endless. But to boil things down, Max for Live empowers Live users to, among other things, create original software devices in the form of MIDI effects, audio effects, instruments, modulators and video generation & processing devices. Then these devices can immediately be deployed into Ableton Live for audio/video productions. For the technically inclined, the possibilities are profound and exciting.
But what about those who just want to make music and don’t care to create software? Max for Live still has a lot to offer this group. Ableton Live production environments enhanced by Max for Live provide another avenue for the collection and deployment of software instruments and effects. Max for Live devices can be used right alongside Ableton’s stock devices and 3rd party VST & AU plugins. Ableton’s website currently offers over 50 content packs that make use of Max for Live technology. But there are far, far more devices that can be found on many different websites, and these can be immediately downloaded and used within Live. There are quite a few individuals and companies that are creating quality devices in Max for Live that can enhance your music making experiences. One site that’s particularly noteworthy is maxforlive.com, which hosts a community of enthusiasts who share their creations on the site. There’s currently over 5,500 devices available there, ready for you to download and use right away.
ADVERTISEMENT
6. Link
Back in the days before Link was introduced, if you wanted to synchronize one or more devices to your Live set’s tempo, you had only one way to do so: MIDI sync. This meant that the device running your live set had to have access to a MIDI output to send tempo data, and each and every device being synced had to have a MIDI input available to receive the tempo data. Usually this MIDI I/O takes the form of a hardware interface connected by standard MIDI cables, and getting everything set up and connected is a real time-consuming headache — especially when syncing a lot of devices. I’ve also noticed that the quality of the MIDI sync is always a little suspect — you can hear things drifting from time to time, especially when first starting up. It takes the follower devices a little while to lock in to the tempo leader device. While there are network MIDI drivers out there that provide wireless MIDI functionality over Wi-Fi, this is hampered by serious latency issues — a real shame.
The introduction of Link solved all of these problems. Link provides an incredibly tight sync between devices, even when executing tempo changes. And this is all done over a standard Wi-Fi or wired ethernet network. Best of all, Link couldn’t possibly be easier to use — just turn it on and Link will find other Link-enabled devices on the network automatically and synchronize them. It can even be configured to automatically start other device’s transports from a single location.
Link makes syncing additional devices to your setup incredibly easy. It’s also a major development for collaborative workflows when using modern digital instruments — a wide variety of hardware instruments, desktop apps and mobile apps support Link. This means that collaborators can easily and immediately sync the tempo of their devices to yours just by connecting to your local area network and turning on Link. It’s that easy.
7. Racks
Ableton’s rack functionality makes building custom and recallable signal chains using Ableton’s stock devices, third party plugins and Max for Live devices a breeze. They come in three different types:
- MIDI Effect Racks: Used for building chains of MIDI effects — devices that receive MIDI at their inputs, process (change) that MIDI data in some way, and then send that altered MIDI to its output.
- Audio Effect Racks: Used for building chains of audio effects — devices that receive audio at their inputs, process (change) that audio in some way, and then send that altered audio to its output.
- Instrument Racks: Used for building signal chains that can potentially contain three types of devices. MIDI effects can be placed first in the signal chain, followed by an instrument. An instrument is a device that receives MIDI at its input and outputs audio. After the instrument, as many audio effects as you like can be placed in the signal chain in any order you want.
Where things get really interesting is when both parallel and serial signal chains are leveraged in your productions. Parallel racks open up all kinds of powerful layering possibilities, among other things. Then, once your rack is complete, you can simply save it to your user library and it’ll be ready to go next time you need it.
The included macro functionality allows for the selection and assignment of key parameters from the signal chain to be assigned to a centralized bank of knobs which can then be (usually automatically) assigned to the knobs on your MIDI controller. With the right controller, this is dynamic — as you switch from track to track in Live, the macro knobs for the currently selected track will automatically be reassigned to the knobs on your MIDI controller. This is especially powerful in a live performance situation.

8. Generative Tools
Generative composition techniques, which I previously wrote about here, are an exciting and relatively recent development in music production. Essentially generative composition allows for some compositional element(s) to be left to chance, but the composer can specify exactly what is left to chance and what range of possibilities are available for the computer to choose from. It’s a great way to “loosen the screws” and allow for potentially endless variations in our music. Several of my own compositions were produced by deploying generative tools within Ableton Live, and I’ve personally found it to be a great way to create music with the capacity to still surprise — even after spending months in post production.
Here’s a brief rundown of just some of the generative tools that are available in the Suite edition of Live 11, with more being developed all the time — especially in Max for Live (see above). Note that if you don’t mind paying for the privilege, there are a couple of powerful generative Max for Live devices available on Ableton’s website: Patter and MidiVolve.
Follow Actions: Ableton’s clips are the basic musical building blocks you’ll use in a typical production session. They can contain audio or MIDI data. In the Session View, after a clip finishes its playback, it can be programmed to jump to and play back a random other clip loaded into the same track. When this simple mechanic is applied across many clips on a track and across many tracks, a remarkably varied and unexpected sequence of musical events can follow.
Stock MIDI Effects: The Arpeggiator, Random (obviously), Shaper MIDI and Velocity devices all provide randomizing functionality. When these devices are chained together, perhaps in a rack (see above), powerful generative techniques can be discovered and harnessed.
The Stock LFO: Before the Max for Live-powered LFO was introduced, there were only a handful of audio effects that included a built-in LFO that offered a random wave shape as a modulation source. But these LFO sources were usually extremely limited in terms of their possible modulation destinations. Now with the stock LFO, nearly any parameter in Live can be a destination for a randomized wave shape. Simply click the “map” button and then click on the parameter elsewhere in Live that you’d like to control. That’s it — instant randomization.
Probability Pack by Sonic Faction: Here’s a collection of five Max for Live devices that offer randomization elements within a step sequencer framework.
Creative Extensions: Within this package of eight tools there are three that offer generative capabilities. The Melodic Steps device is a MIDI sequencer capable of randomizing pitch, note length, velocity and note rests at the click of a few buttons. I really like the feature that allows for the “full” or “slight” randomization of any given sequencer lane.
Inspired by Nature: This is a unique and impressive collection of devices that act on your audio and MIDI through the application of simulated natural forces from physics and biology. A deep dive into this fascinating pack is beyond the scope of this article, but for those who are interested, this video is full of useful information:
Conclusion
Perhaps the best indicator of how revolutionary Ableton Live has been in the DAW marketplace is how many other major DAWs have blatantly copied essential functionality from Live — and it’s not just the Session View that’s been copied. Have a cursory look at recent versions of Bitwig, Apple’s Logic Pro and MOTU’s Digital Performer and you’ll see what I mean. But Live is now the product of over 20 years of development. While it’s still far from perfect, Live provides a compelling and powerful space for all phases of music production in one package — including composition, improvisation, tracking, mixing and mastering.
creditSource link


